Kubernetes Application: CI/CD pipeline - Part I
Overview
Teaching: 0 min
Exercises: 0 minQuestions
Being able to deploy a Jenkins server inside Kubernetes and integrate with GitHub for automated building/testing.
1. Preparation: individual!
- Each student should launch an experiment of their own.
- Visit Dr. Ngo’s Kubernetes-Jenkins branch and create a copy of this branch in your GitHub CloudLab profile repository.
- You can overwrite the existing main branch, or, even better, create a new branch.
- Once the experiment is fully deployed, and all Startup Finished running:
- SSH into the head node and run the followings
$ cd
$ bash /local/repository/launch_network.sh
$ kubectl get nodes
2. Introduction to Jenkins
- Jenkins
- Open-source automation server that allows continuous integration:
- Recognized whenever source code is changed and/or updated.
- Automatic building and testing of updated codes.
3. Deploy Jenkins on Kubernetes
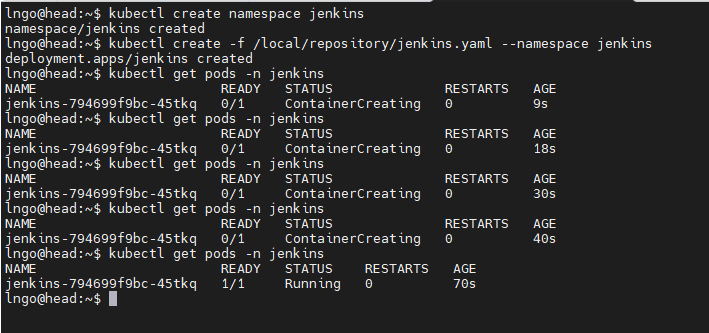
- SSH to the headnode of your Kubernetes cluster.
$ kubectl create namespace jenkins
$ kubectl create -f /local/repository/jenkins.yaml --namespace jenkins
$ kubectl get pods -n jenkins
- Repeat the
kubectl get pods -ncommand a few time until you see that thejenkinspod is up and running.
- What did we just deploy: jenkins.yaml.
- Kubernetes’ deployment template.
spec.replicas: 1spec.containers:linhbngo/jenkins-gcc:latestspec.containers.ports:http-port:8000 andjnlp-port:50000- …
- Next, run the commands to create Service.
- A
Serviceis an abstraction that defines a logical set of Pods and a policy by which to access them.- The set of pods targeted by a service is determined by a
selector.- It allows the decoupling of the microservices provided by the pods and the actual pods themselves (which could be created and destroyed as needed).
- The service file for the Jenkins’ pod.
$ kubectl create -f /local/repository/jenkins-service.yaml --namespace jenkins
$ kubectl get services --namespace jenkins
$ kubectl get nodes -o wide
- Grab one of the values of
INTERNAL-IP, open a browser and go toINTERNAL-IP:30000
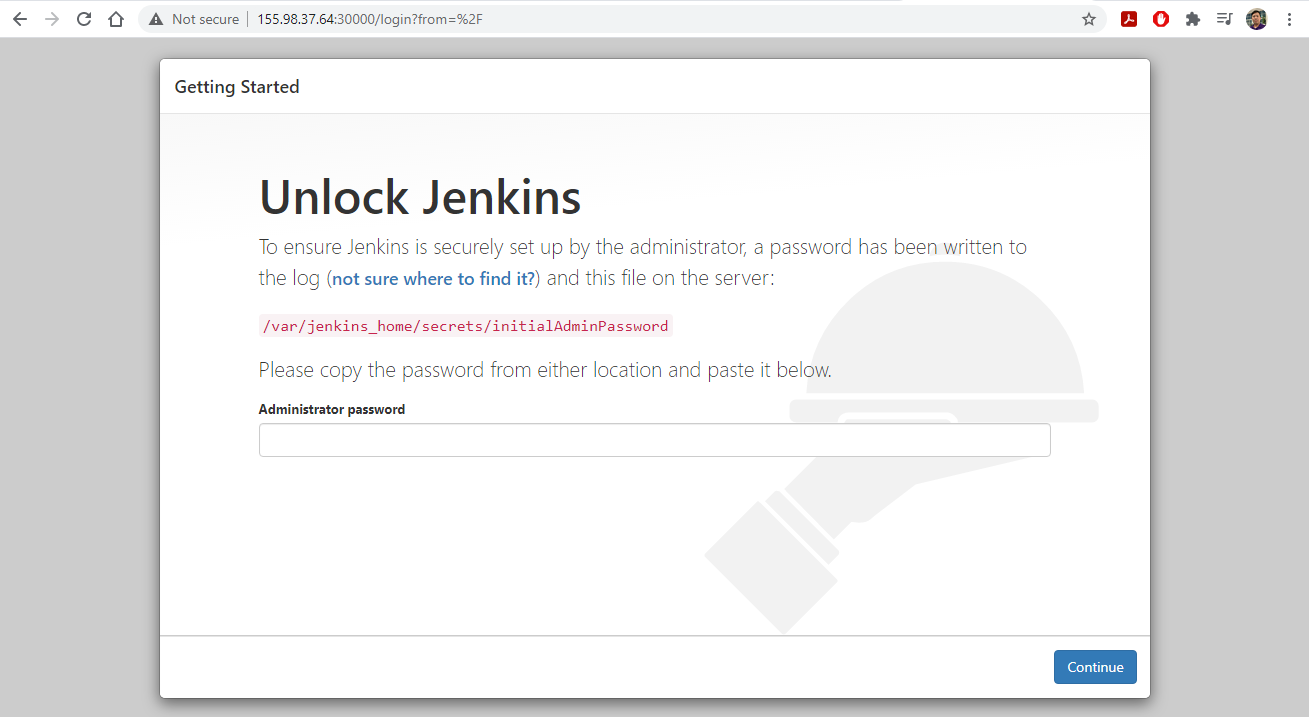
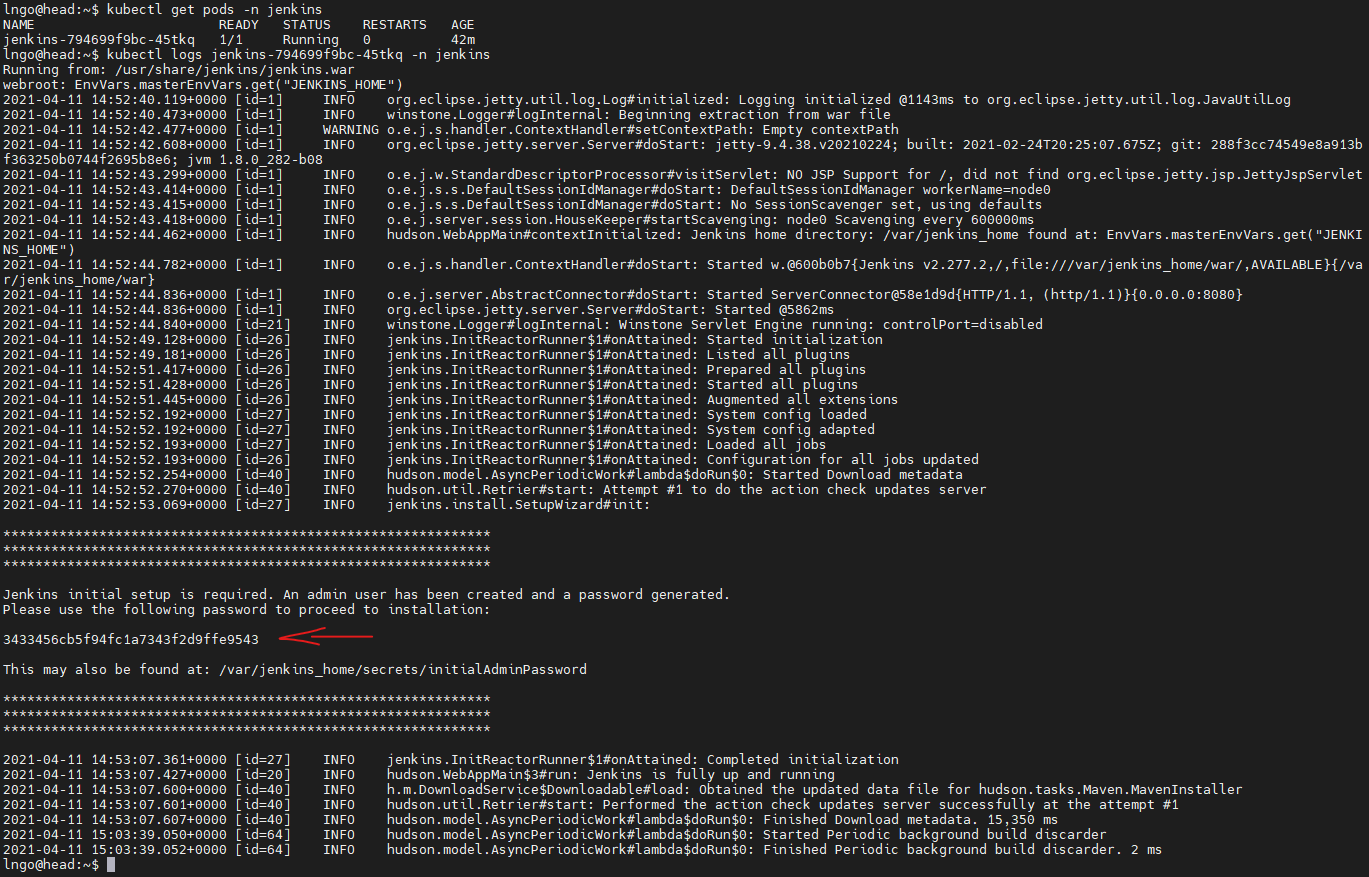
- To find the default password:
- Write down the
NAMEvalue from the first command and use that for the second command.$ kubectl get pods -n jenkins $ kubectl logs jenkins-794699f9bc-45tkq -n jenkins
- Copy and paste the initial admin password to the Jenkins’ page and hit
Continue.

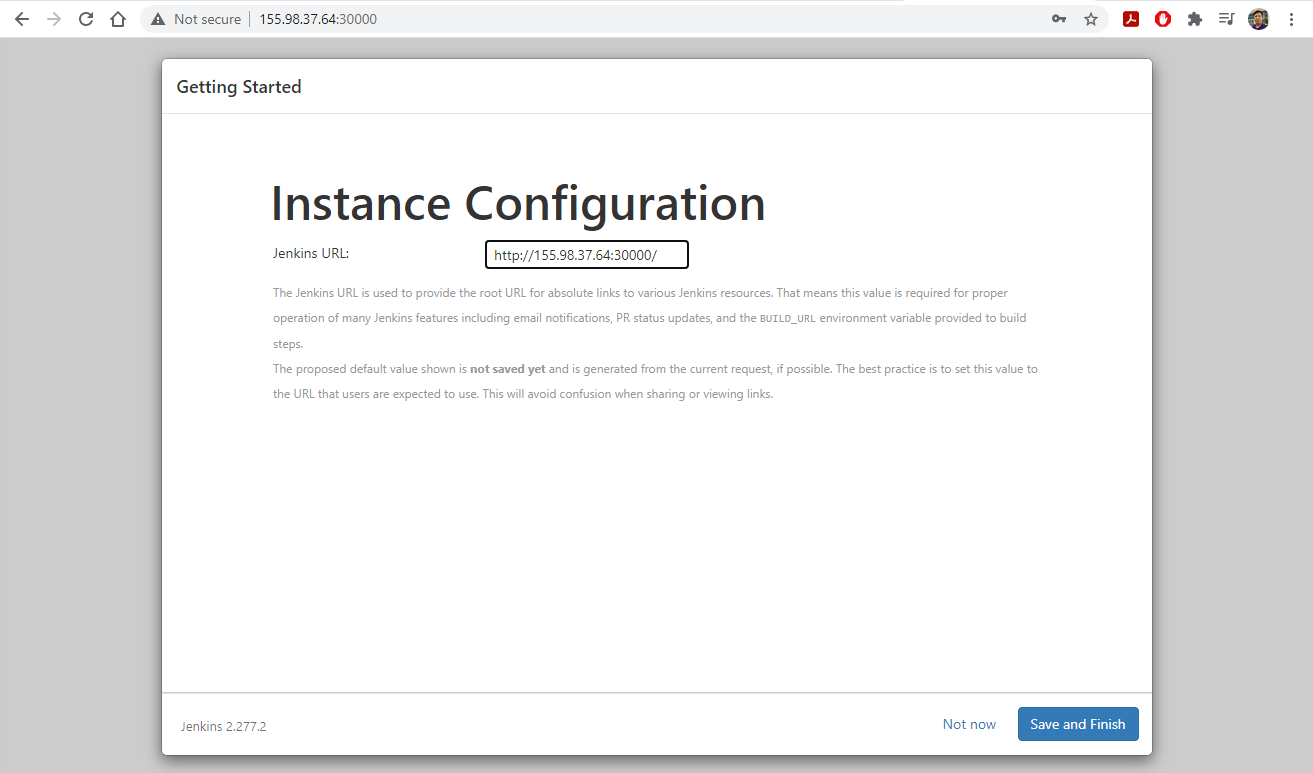
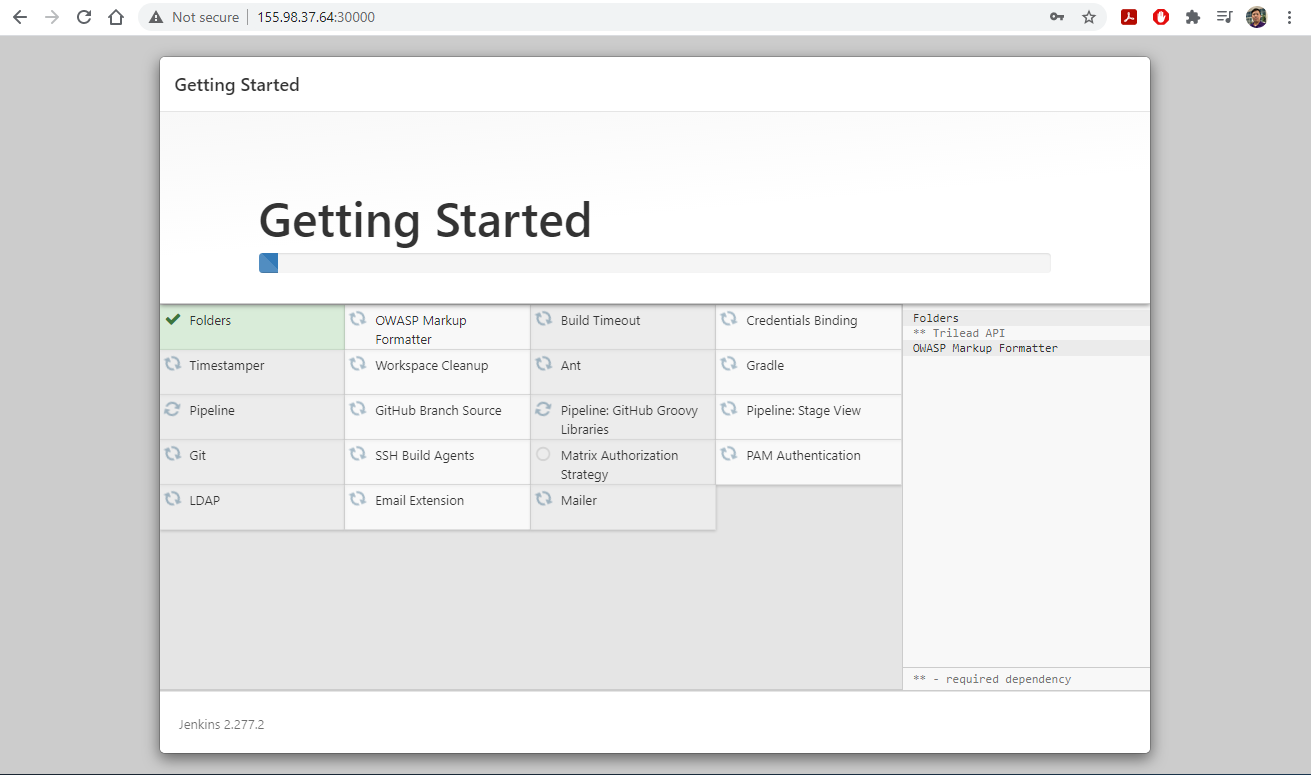
4. Configure Jenkins
- Click on
Install selected plugins
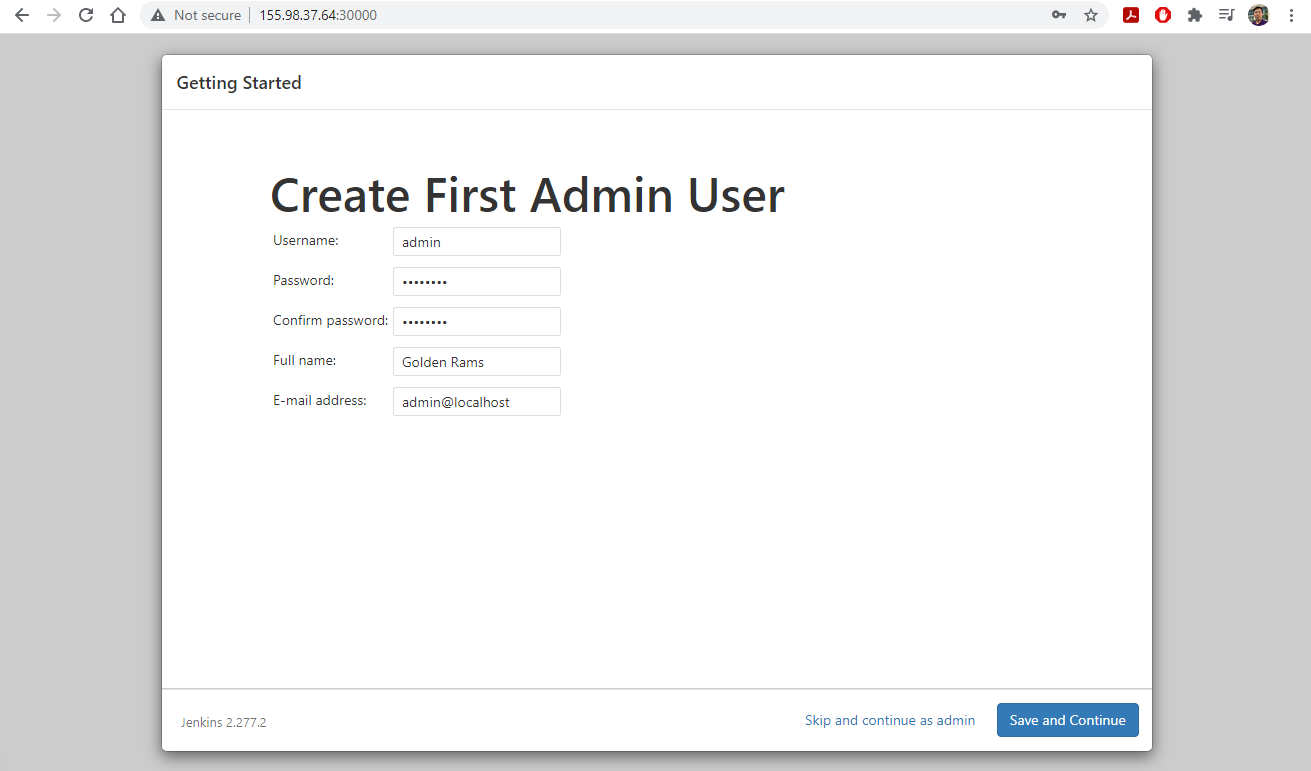
- You can either try to create the first admin user or Skip and continue as admin.
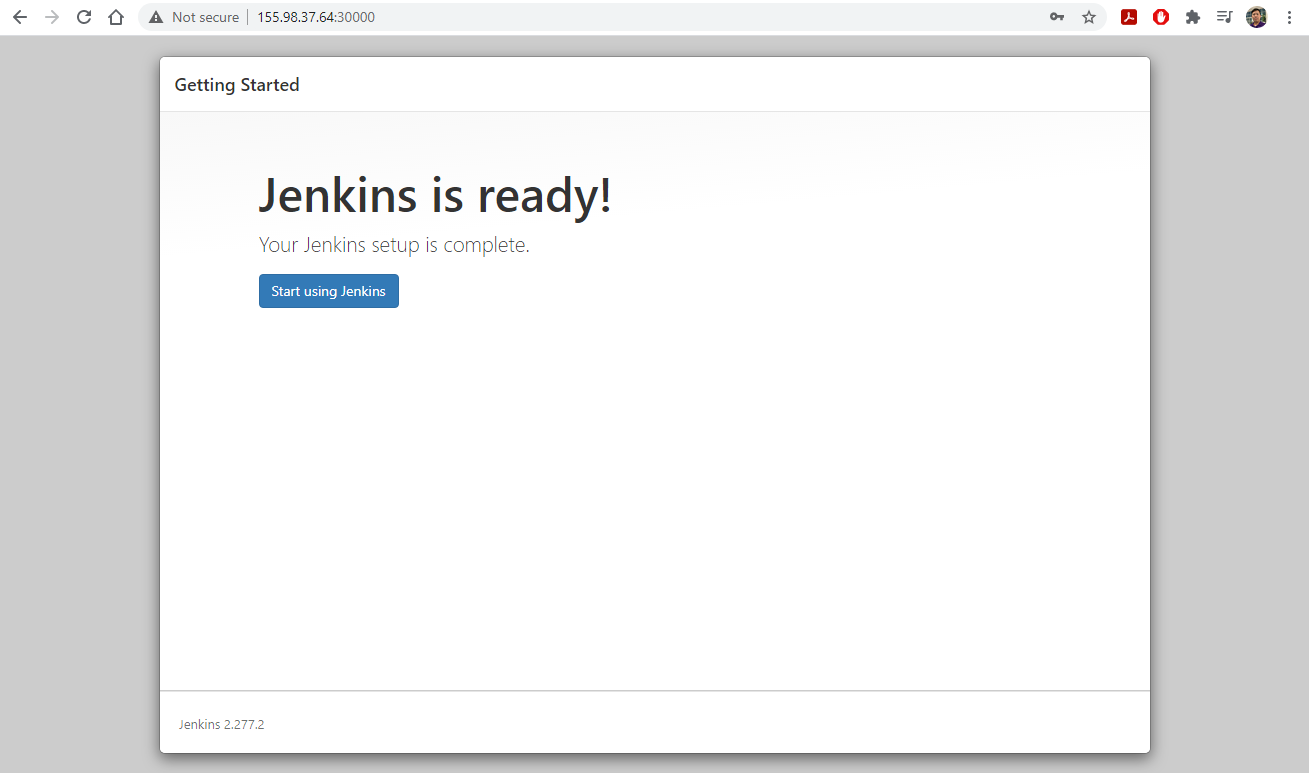
- Click
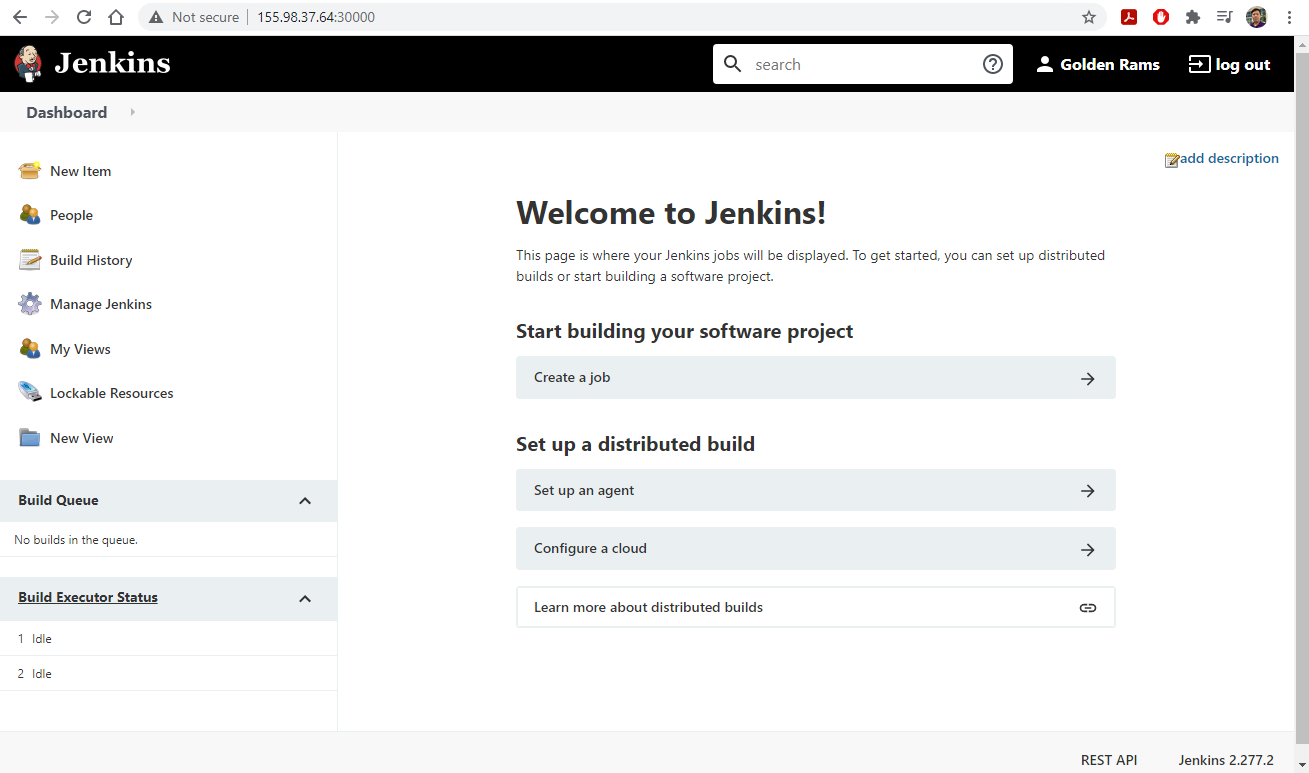
Save and Finish, thenStart using Jenkins
5. Integrate Git and Jenkins
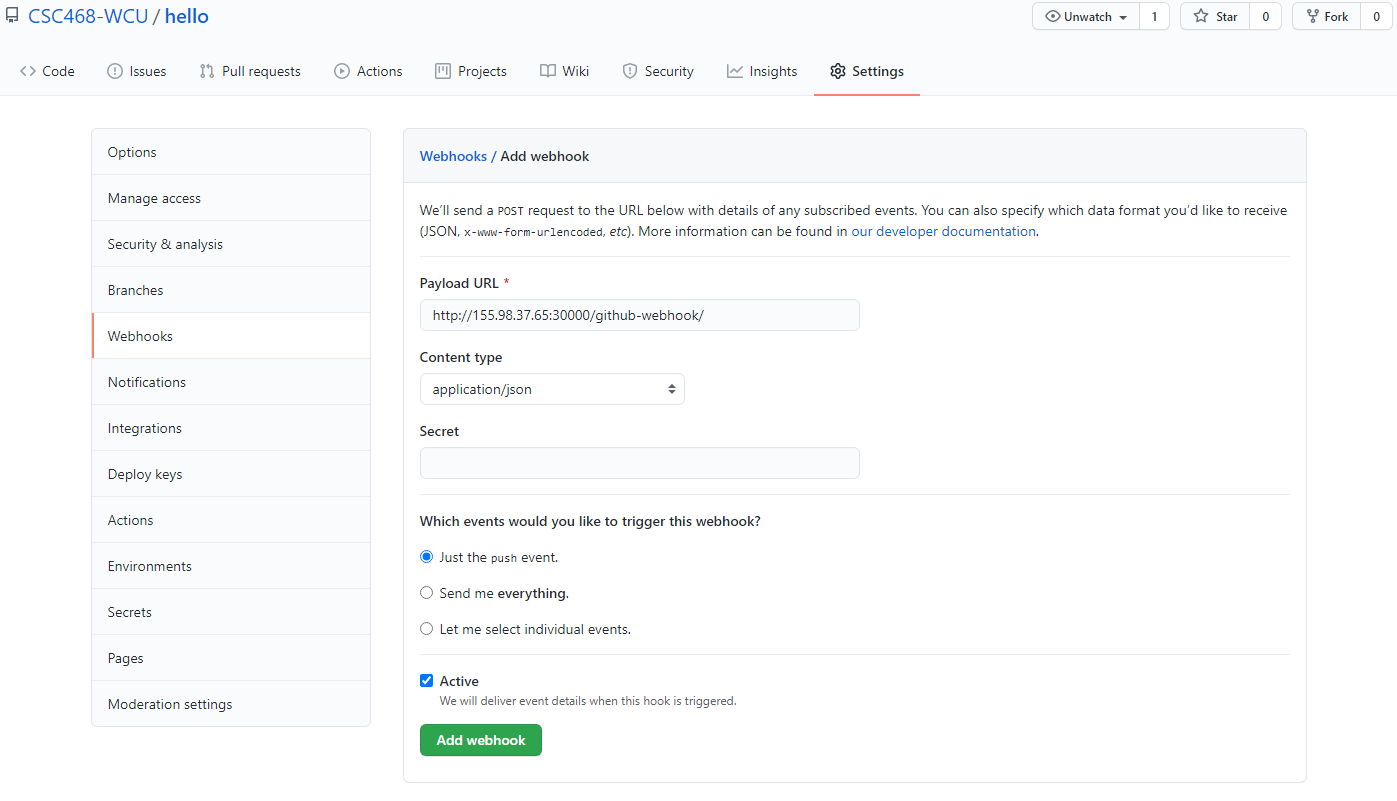
- Create a new public GitHub repository named
hellowith the contents similar to this repository- In your
hellorepo, go toSettings/Webhooksand add a new webhook with the settings similar to the screenshot.
- NOTE: The Payload URL should be YOUR jenkin server URL.
- Click
Add webhookwhen done.
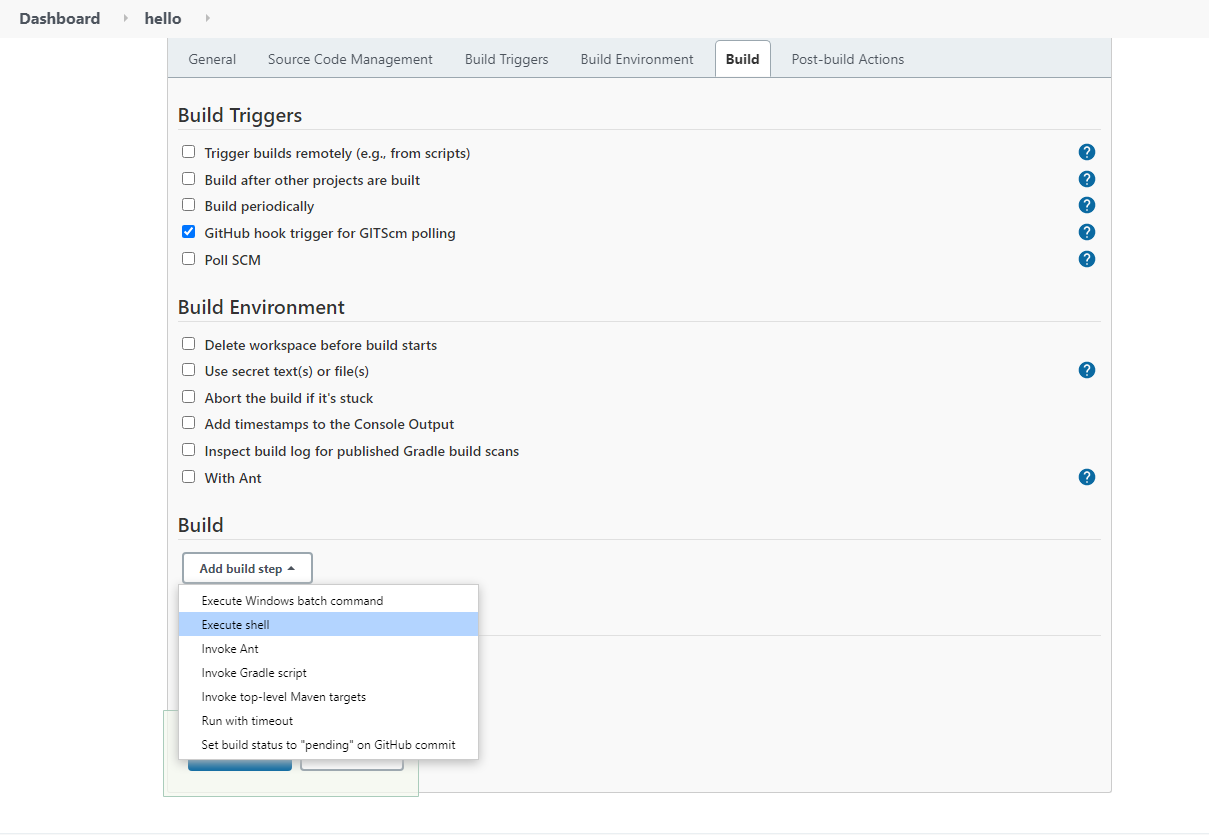
- On your Jenkins dashboard, select
New Item, then setup the new project with the settings similar to the screenshot below. CliclOKwhen done.
- Click
Source Code Management:
- Click
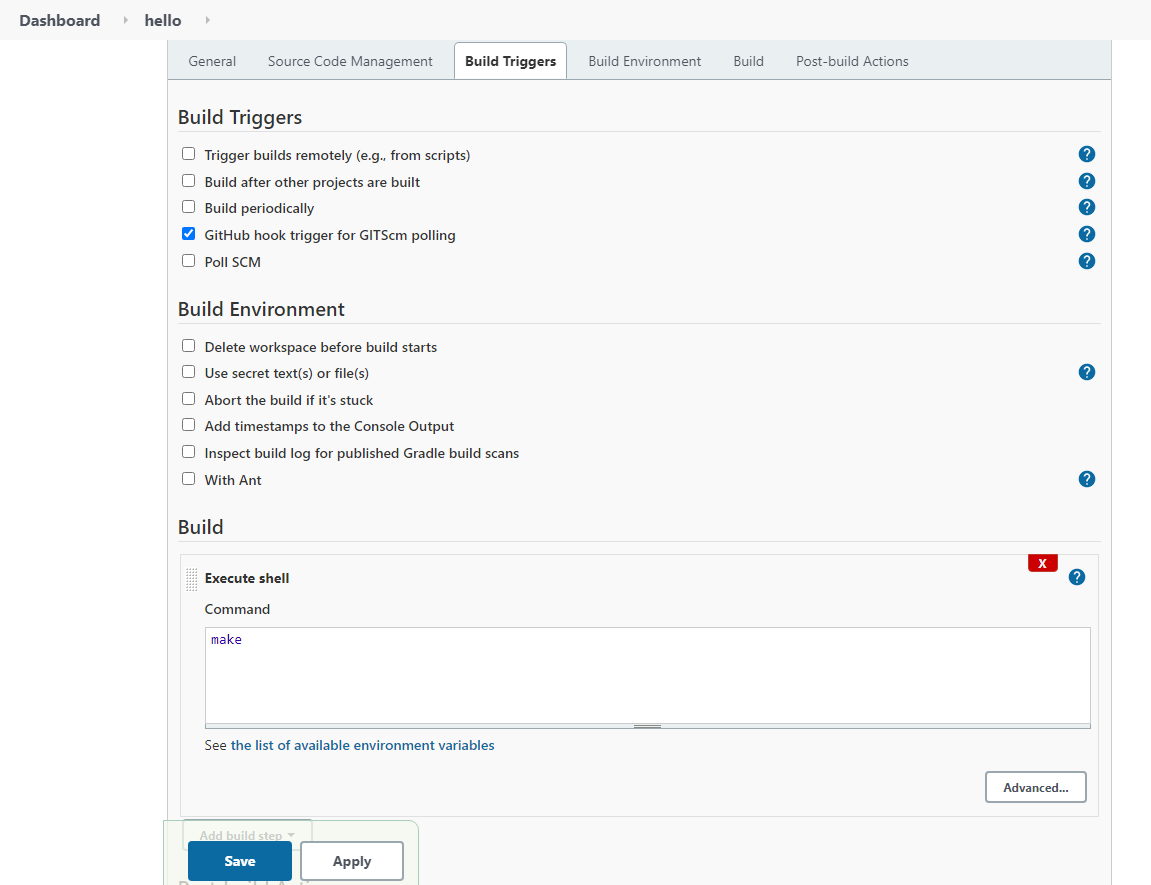
Build Triggersand selectGitHub hook trigger for GITScm polling.- Click
Build/Add build stepand selectExecute shell.
- Enter
makein the Command box, then clickSave.
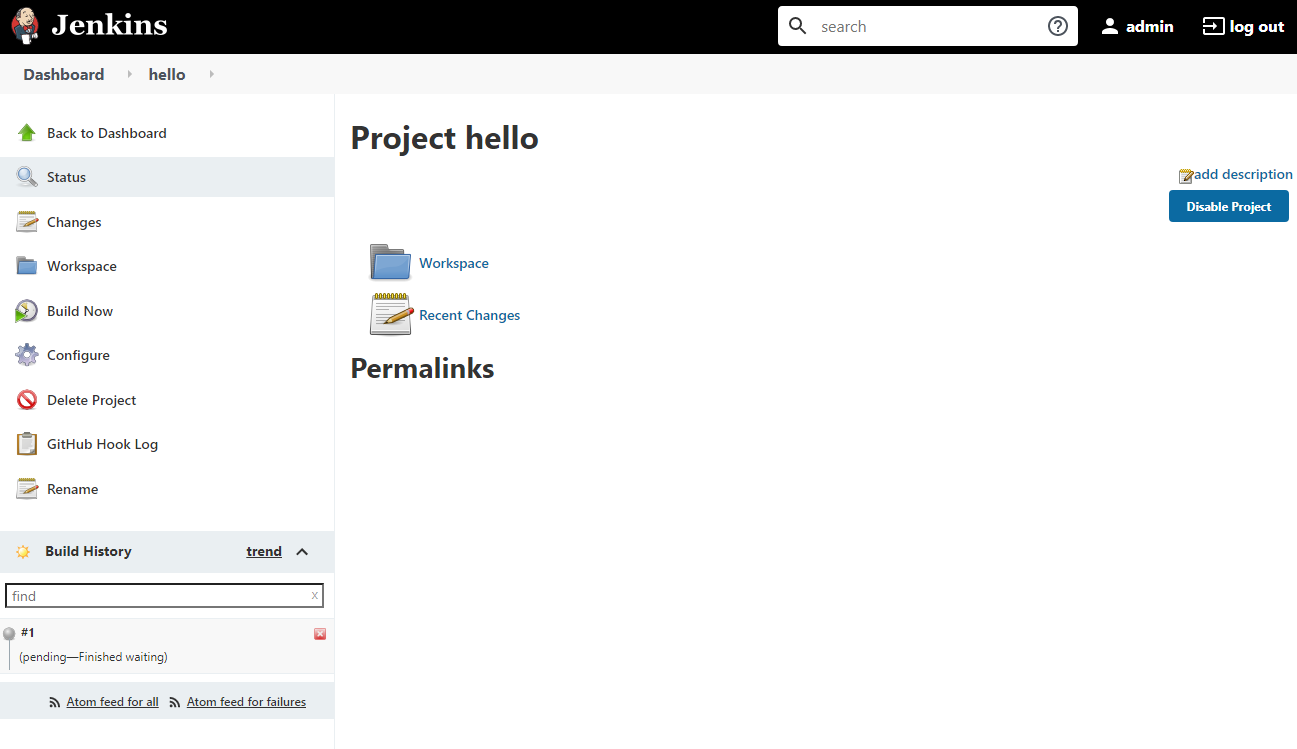
- Make an edit to your C file in the hello repo and observe how the jenkins server launches a build.
- Explore the interface to learn more about the details of the build.
- Try to push an incorrect edit to the C file and see how the Jenkins server update the build.


6. Setup Jenkins agents to run on the Kubernetes cluster
- Reminder: If you are launching a new experiment
$ bash /local/repository/launch_network.sh
- Expand NodePort range by editing
/etc/kubernetes/manifests/kube-apiserver.yamland add the following line:
service-node-port-range=30000-50000
sastands forservice account.$ kubectl create namespace jenkins $ kubectl create clusterrolebinding permissive-binding --clusterrole=cluster-admin --user=admin --user=kubelet --group=system:serviceaccounts $ kubectl -n kube-system create sa jenkins $ kubectl create clusterrolebinding jenkins --clusterrole cluster-admin --serviceaccount=jenkins:jenkins $ kubectl create -f /local/repository/jenkins.yaml --namespace jenkins $ kubectl create -f /local/repository/jenkins-service.yaml --namespace jenkinsAfter setup Jenkins (see slides 4), let’s add Kubernetes support
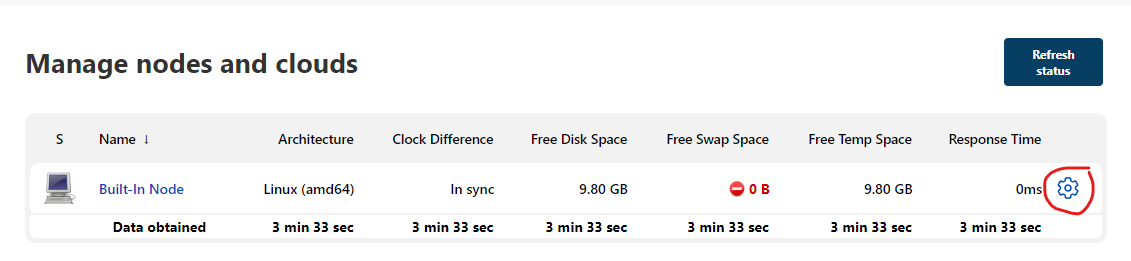
- Go to Manage Jenkins, then Manage Nodes and Clouds, go to the setting of the built-in node and set the number of executors to 0.
- Go to Manage Jenkins, then Manage Plugins
- Type
Kubernetesinto the search box and select the Kubernetes plugin.- Click
Install without Restart.- Scroll to the bottom of the following page and check the
Restart Jenkins after installingbox.- Wait until Jenkins restart and log back in.
- Manage Jenkins, then Manage Nodes and Clouds, then Configure Cloud.
- Select
KubernetesfromAdd a new clouddropbox.


7. Setup Jenkins/Kubernetes: configure Kubernetes Cloud details
- Run
kubectl cluster-infoto get the information about theKubernetes control plane.$ kubectl cluster-info
- Enter the information as shown in the figure below:
Kubernetes URL: use the information fromKubernetes control plane.- Check
Direct Connectionbox.- Click
Test Connectionto confirm successful connection.


8. Setup Jenkins/Kubernetes: configure Pod Templates
- Click
Pod Templates.
- Click
Add Pod Template.- Click
Add Container.- Fill in information about the template for Pod/Container as shown below
- Click
Save.

9. Launch a new pipeline
Create a branch from your
hellorepository and named ithello_kube. Make sure that thishello_kubebranch is copied from the instructor’s hello repo’s hello_kube branch- In
Jenkins, create aNew Itemof typePipelineand name ithello_kube.- Under
Build Triggersand checkGitHub hook trigger for GITScm polling.- Under
PipelineselectPipeline script from SCM.- Once
SCMappears, selectGitand provide theRepository URLfor your hello repo.- Under
Branch to build, change*/masterto*/hello_kube.- Make sure that
Script Path, enterJenkinsfile.
- This is the
Jenkinsfilein thehello_kubebranch.- Click
Apply.
- Click
Save.

10. Where the wild things are
Key Points