Programmatic Deployment of Infrastructures
Overview
Teaching: 0 min
Exercises: 0 minQuestions
Be able to launch OpenStack on CloudLab
Understand the management of resources, including memory, CPU, storage, network, and security in the Cloud
1. OpenStack on CloudLab
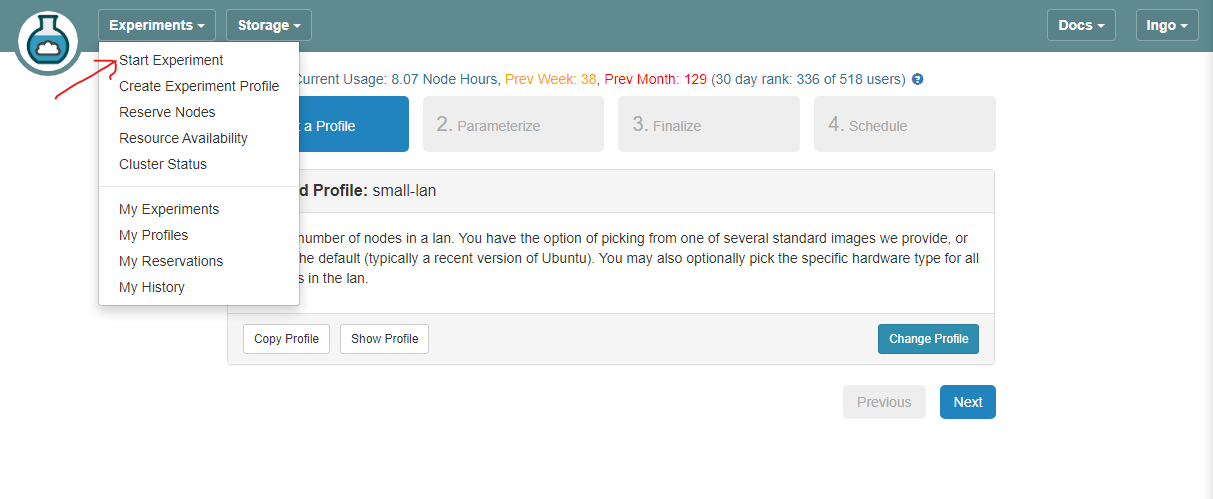
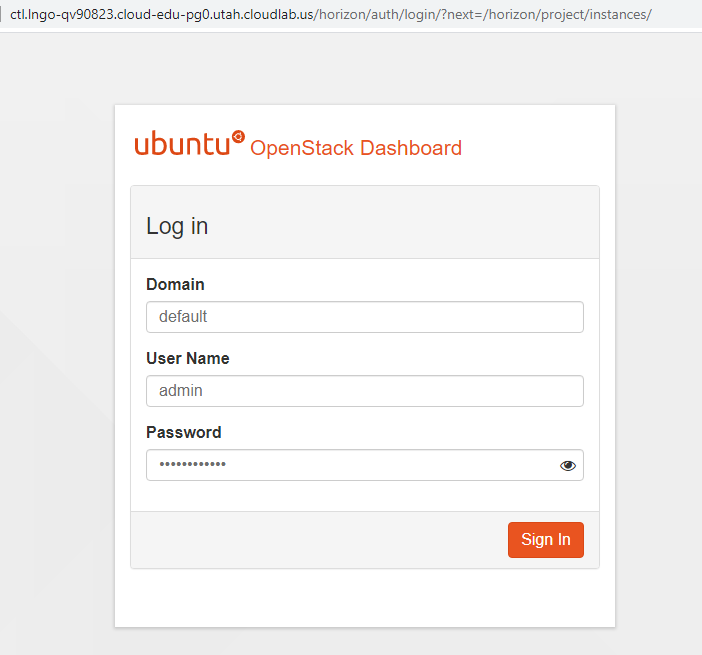
- Log into CloudLab
- Under Experiments drop down box, select Start Experiment.
- Click Change Profile.
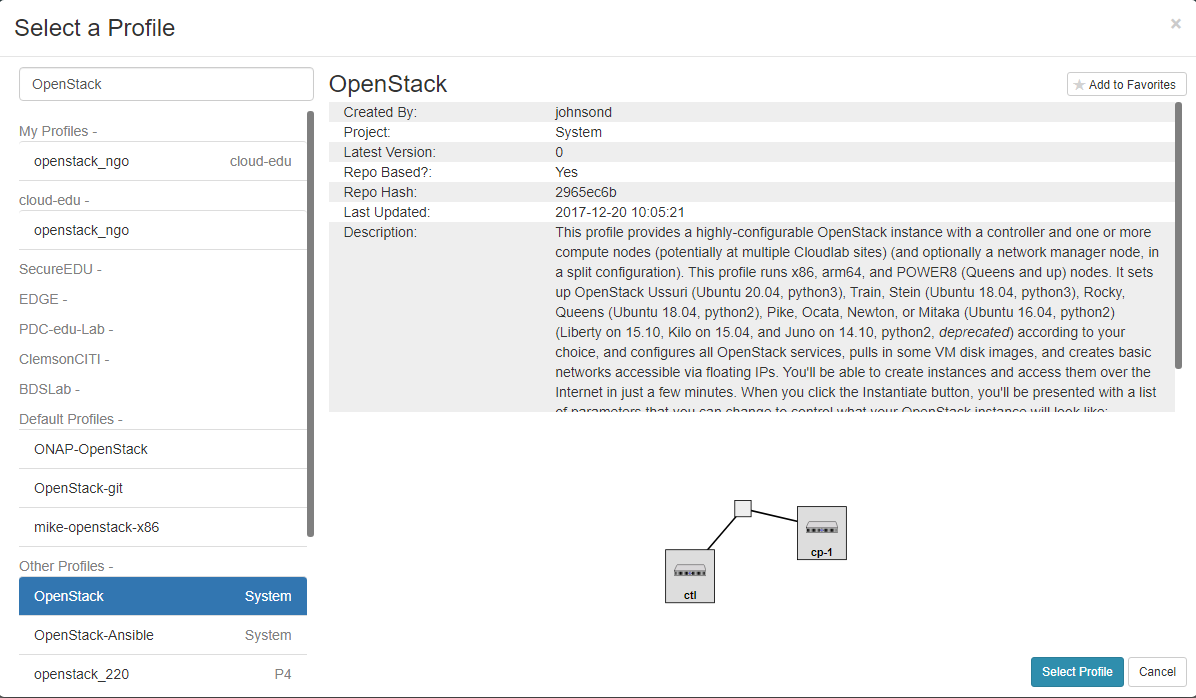
- Type OpenStack in the search box, and select the profile OpenStack as shown in the figure below.
- Click Select Profile when done.
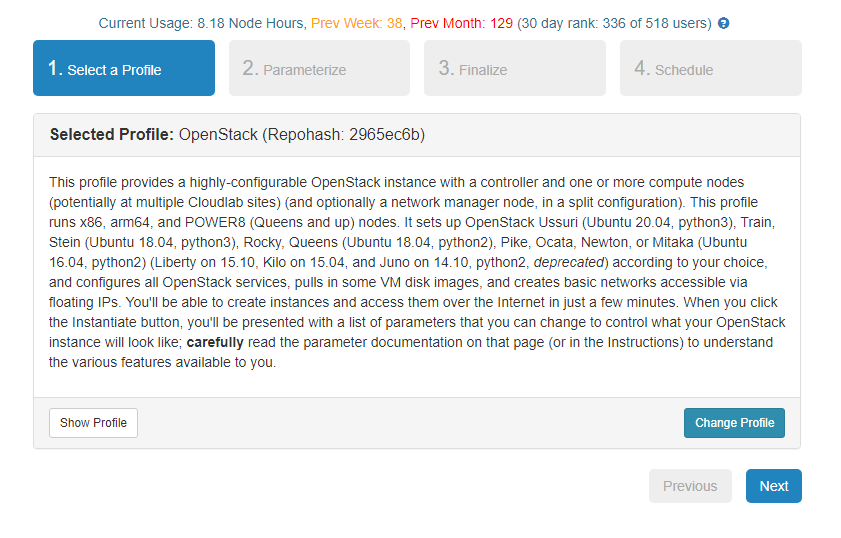
- Click Next.
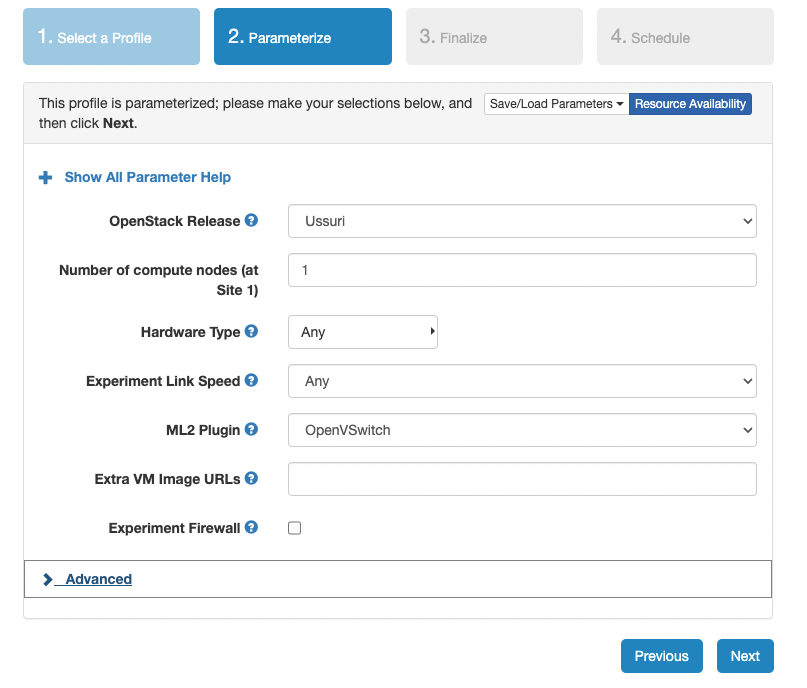
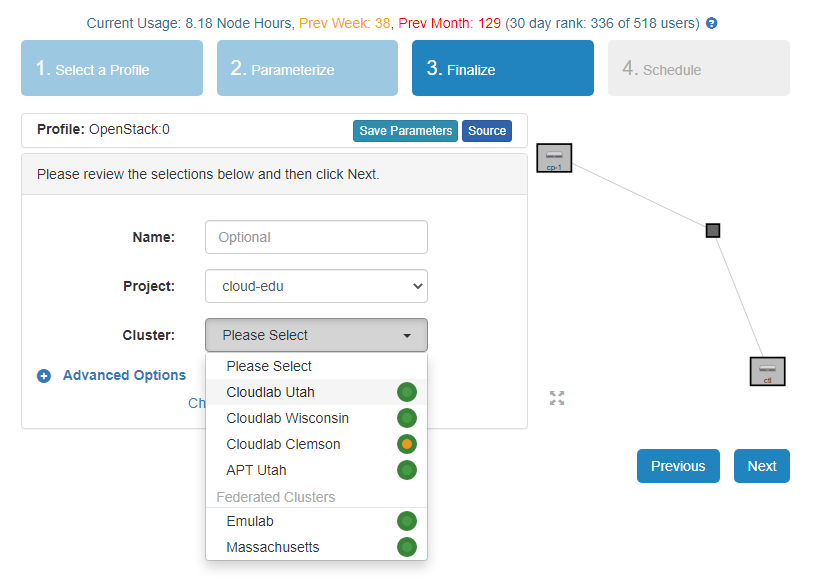
- Select the options similar to the figure below.
- If the Parameterize tab does not look like this, click Previous to go back one step, and then click Next again.
- Only Utah, Wisconsin, and Clemson have been known to work with this profile.
- I will use Utah for the remaining steps.
- Do not change anything on the Schedule step and click Finish.
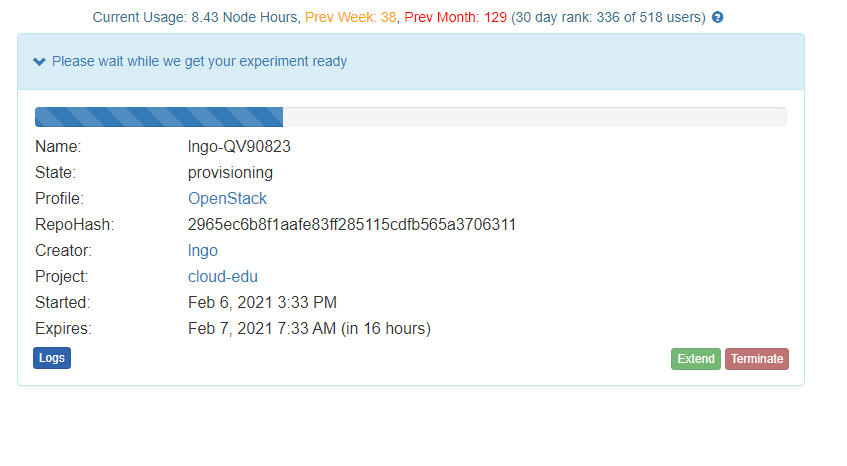
- The startup scripts of this profile will take sometimes to run, approximately thirty minutes to one hour.
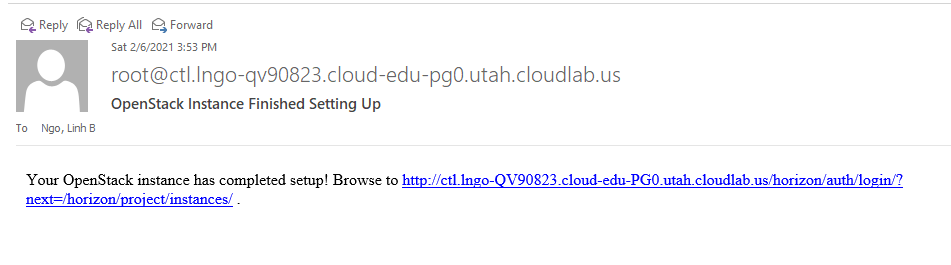
- You will receive an email from CloudLab (to the registered) to inform you when the experiment is ready.
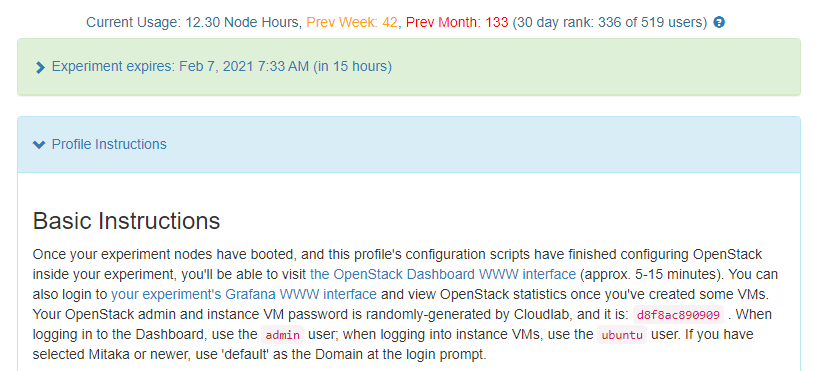
- Go to the experiment, and open the blue *Profile Instructions** box.
- Follow the instructions to login to OpenStack dashboard. Your passwords will be randomly generated and unique to each experiment.
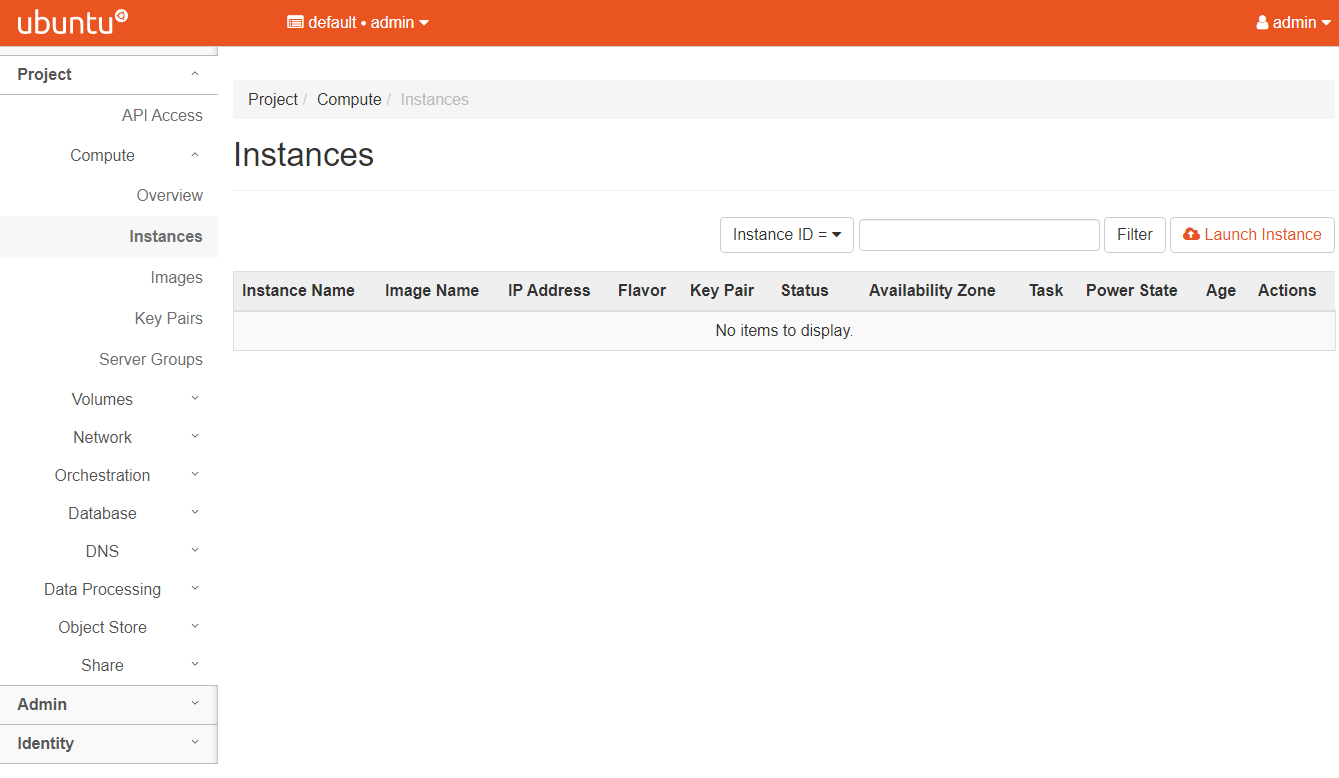
- You will see a Dashboard on a successful deployment as follows.

2. Deploying compute resources from OpenStack
- In the next sequence of hands-on, we will look at how OpenStack can support the deployment of a virtual machine inside its Nova compute components.
3. Hands-on: Download Linux distribution
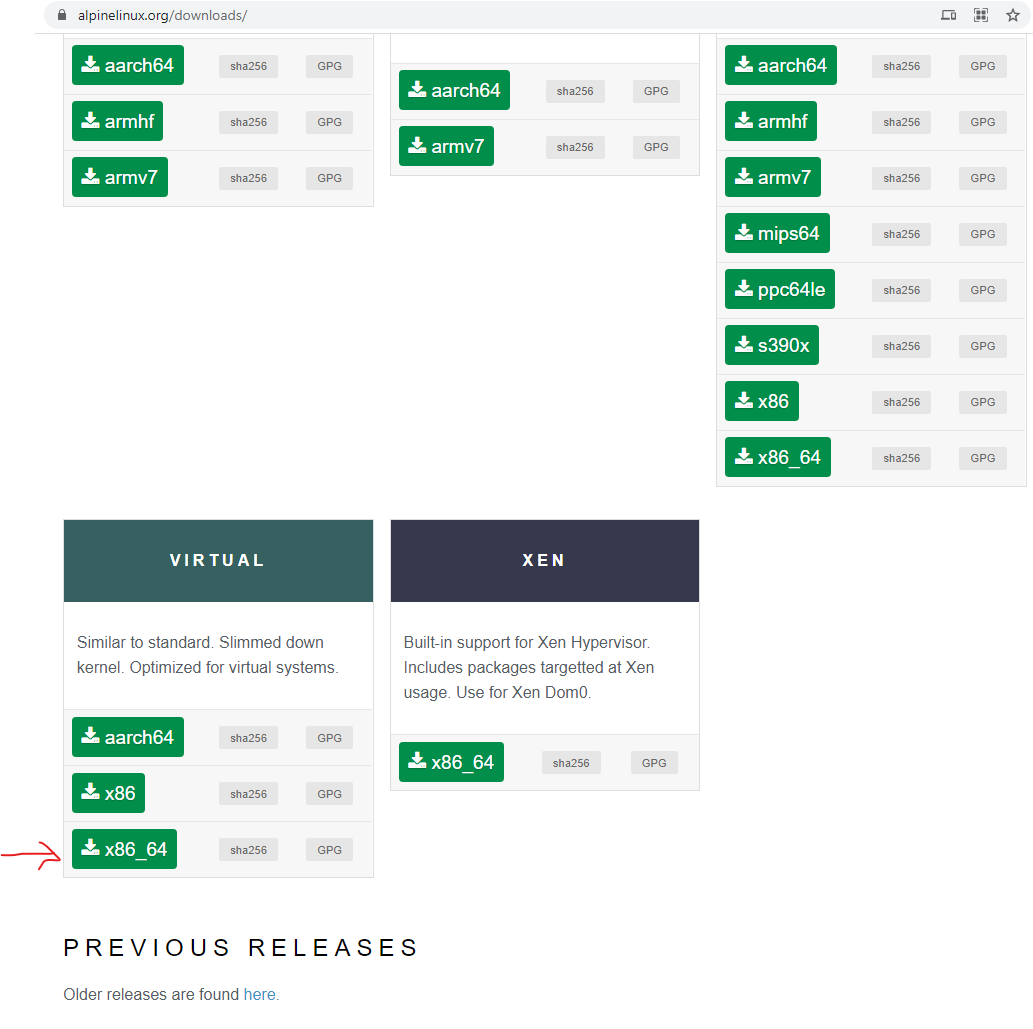
- We will use Alpine Linux, a light-weight distribution that was created for containerization/cloud deployment.
- From Alpine Download Page, select the x86_64 Virtual version.
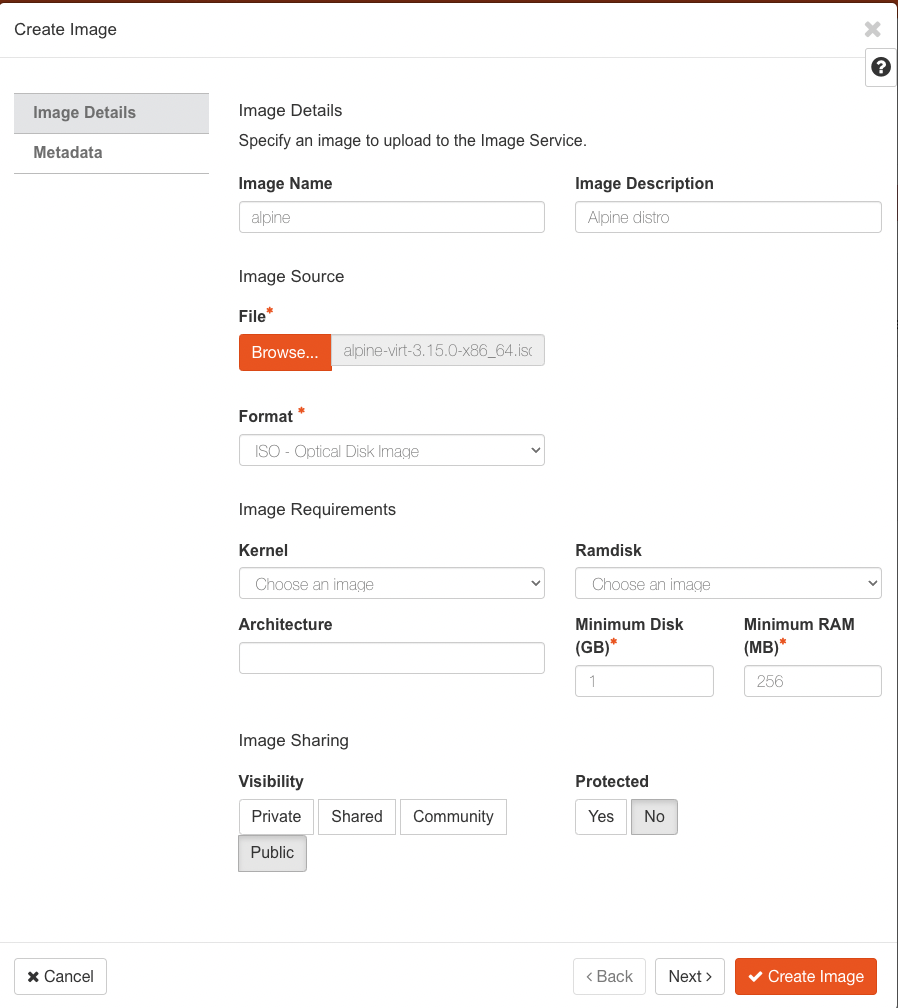
4. Hands-on: Create cloud image
- Go to your CloudLab Dashboard.
- Go to Compute/Images, then click on Create Image.
- Click Browse and find and select the downloaded ISO file from the the previous slide.
- Set the other parameters as shown in the figure below.
- Click Create Image when done.
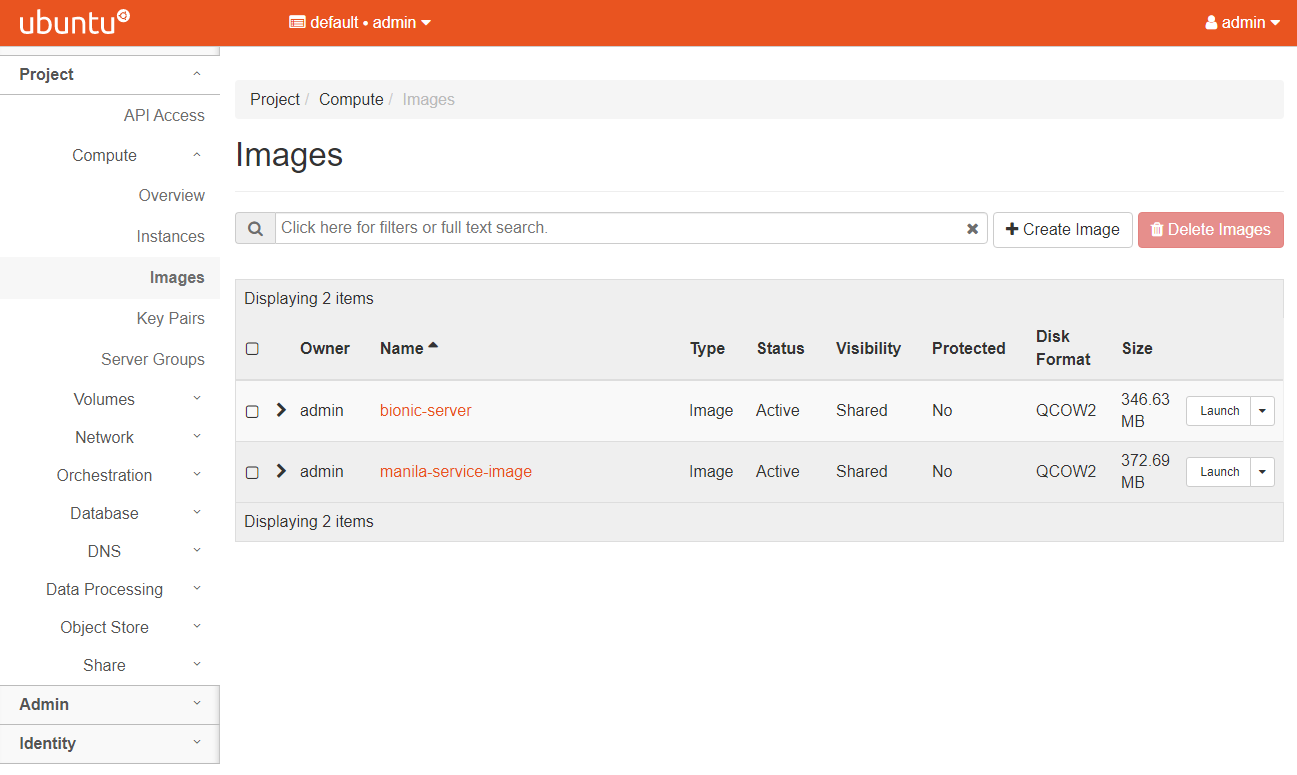
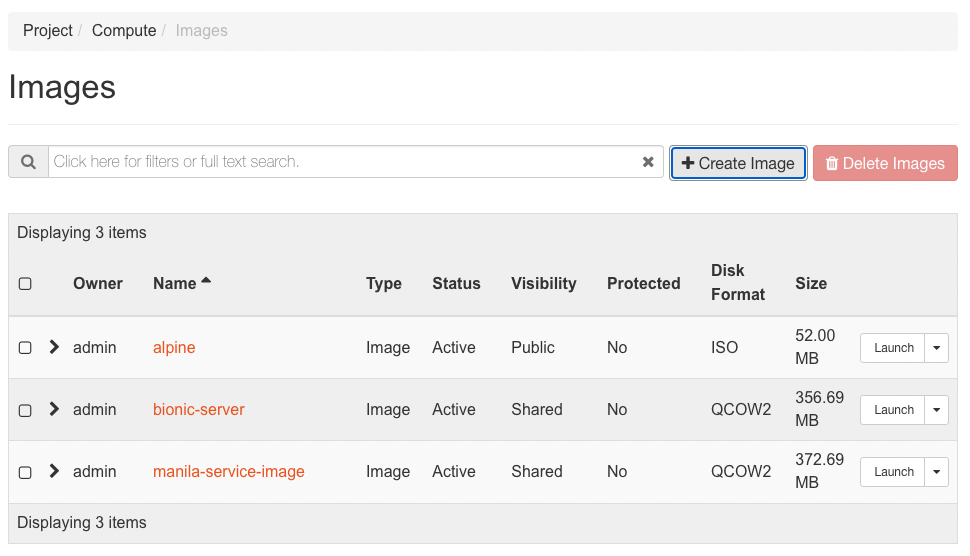
- The image will show up in the Images tab.
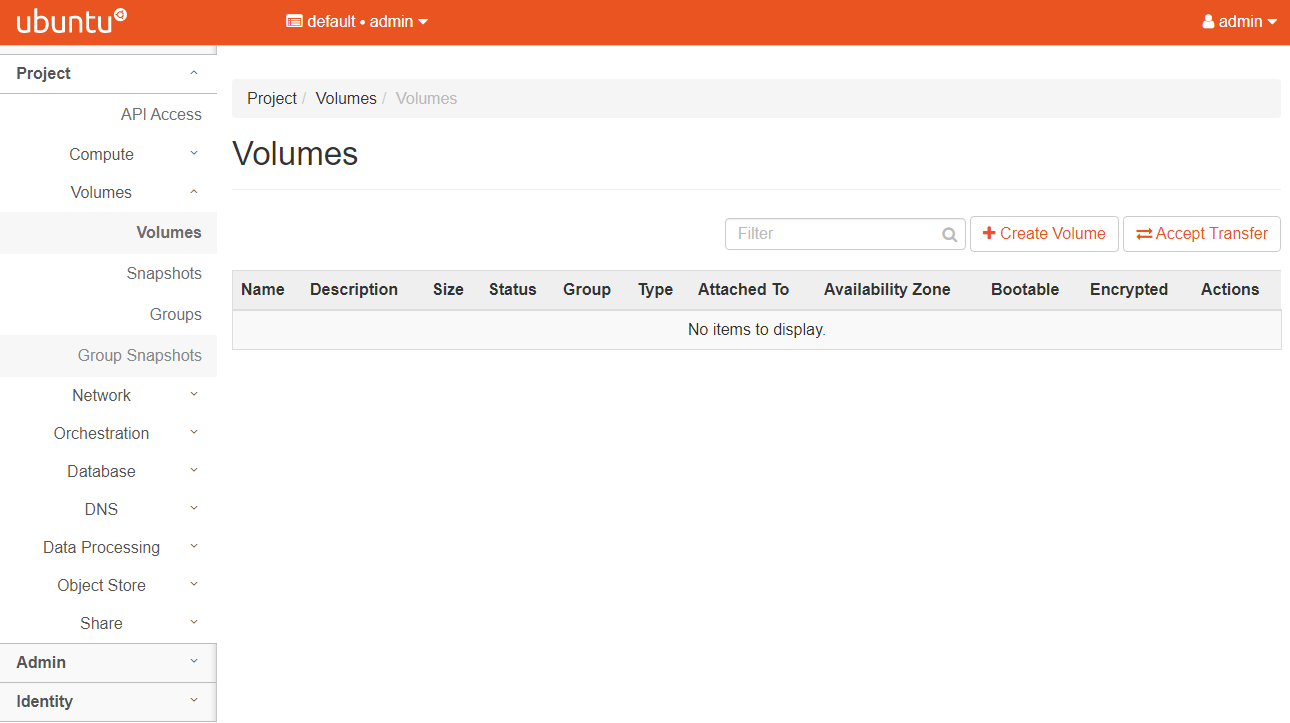
5. Hands-on: Create volumes
- Go to your CloudLab Dashboard.
- Go to Volumes/Volumes, then click on Create Volume.
- Set the other parameters as shown in the figure below.
- Alpine takes up a small amount of storage, so 2GB is more than enough for a simple installation.
- Click Create Volume when done.
- The volume will show up in the Volumes tab.


6. Hands-on: Launching a compute instance
- Go to your CloudLab Dashboard.
- Go to Compute/Instances and click on Launch Instance.
- Set the instance name and other parameters, then click Next
- Use the up arrow to select the alpine image as the allocated image. Click Next.
- Select m1.tiny as the compute flavor. Click Next.
- Select flat-lan-1-net as the connected network. Click Launch Instance.
- It should take a few minute for the instance to become ready.


7. Hands-on: Volume attachment and Linux installation
- Go to your CloudLab Dashboard.
- Go to Compute/Instances
- Click on the drop-down arrow under Actions for the alpine instance, then click Attach Volume.
- Select your
sda_****volume ID created earlier, then click Attach Volume
- Click on the drop-down arrow under Actions for the alpine instance.
- Select Console.
- Right click on Click here to show only console and select Open link in new tab.
- This helps with navigating back and forth.
- A new console tab appears!
- You are now booting from the Alpine distro.
- Type root into the
localhost login:prompt and hit Enter to log in.
- A quick review of Alpine installation process can be found on their wiki
- Type
setup-alpineand hit Enter to start the installation process.- Use the following options:
Select keyboard layout:usSelect variant:usEnter system hostname ...: Hit Enter to accept default.Which one do you want to initialize?: Hit Enter to accepteth0as the default interface.Ip address for eth0: Hit Enter to acceptdhcpas the default value.Do you want to do any manual network configuration?: Hit Enter to acceptnas the default value.- Enter a complex password for root. DO NOT MAKE AN EASY PASSWORD. If your cloud instance got hacked and used for malicious purposes, you will be banned from CloudLab. Retype the password.
Which timezone are you in?: TypeESTand hit Enter.HTTP/FTP proxy URL?: Hit Enter to acceptnoneas the default value.- For the mirror question, type
30(the one from princeton), then hit Enter.Which SSH server?: Hit Enter to acceptopensshas the default value.Which disk(s) would you like to use?: Review the lines above, and select the listed disk. There should be one as we already attached a volume to this instance. For me, it isvdb, so I type invdaand hit Enter.How would you like to use it?: Typesysand hit Enter.WARNING: Erase the above disk(s) and continue?: Typeyand hit Enter.
- Once the installation process is completed, Leave this console running and return to the Dashboard.
- Go to Compute/Instances
- Click on the drop-down arrow under Actions for the alpine instance.
- Select the
sda_****volume ID selected earlier, then click Detach Volume
- Select the
sda_****volume ID created earlier, then click Detach Volume
- Go to your CloudLab Dashboard.
- Go to Volumes/Volumes.
- In the Actions box of
sda_****, click the drop-down arrow and select Upload to Image.
- Set Image Name to
alpine-diskand Disk Format asRaw, then click Upload.
- Successful upload:


8. Challenge
- Launch another compute instance using the newly created
alpine-diskimage.
- Pay attention to the flavor.
- Log into the console and confirm that you can use the root password created earlier to log in
Expected Outcome:

9. Setup Apache webserver (from the volume-based Alpine from Challenge 8)
- You should be inside the console after log in as root and have the root password.
- Run the following commands to install Apache webserver
$ apk update
$ apk add apache2
$ rc-service apache2 start
{ :.language-bash}

10. Setup public IP address
- To expose the webserver, we need a public IP address.
- Go to your CloudLab Dashboard.
- Go to Compute/Instances
- Click on the drop-down arrow under Actions for the alpine instance, then click Associate Floating IP.
- Click on the
+sign to allocate IP address.
- Click on Allocate IP.
- Click on Associate.
- You should see the public IP address with your instance
- Try visiting this IP address now, anything?


12. Cloud security basic
- In the cloud,
egressmeans traffic that’s leaving from inside the private network out to the public internet (similar to standard network definition).- In the cloud,
ingressrefers to unsolicited traffic sent from an address in public internet to the private network – it is not a response to a request initiated by an inside system. In this case, firewalls are designed to decline this request unless there are specific policy and configuration that allows ingress connections.


11. Handle security
- Go to your CloudLab Dashboard.
- Go to Network/Security Group
- Click on Manage Rules.
- Click
Add Rules
- In the
Ruledrop down box, selectHTTP, then clickAdd.
- You can see the new
Ingressrule for HTTP.
- The apache webserver is now visible


Key Points